Wednesday, December 11, 2013

Looking Ahead to 2014 and Learning from 2013....

"End of December, the sleepy brown woods seem to nod down their heads for the winter..."
Dan Fogelberg, Lyrics to "Old Tennessee"

Lessons Learned

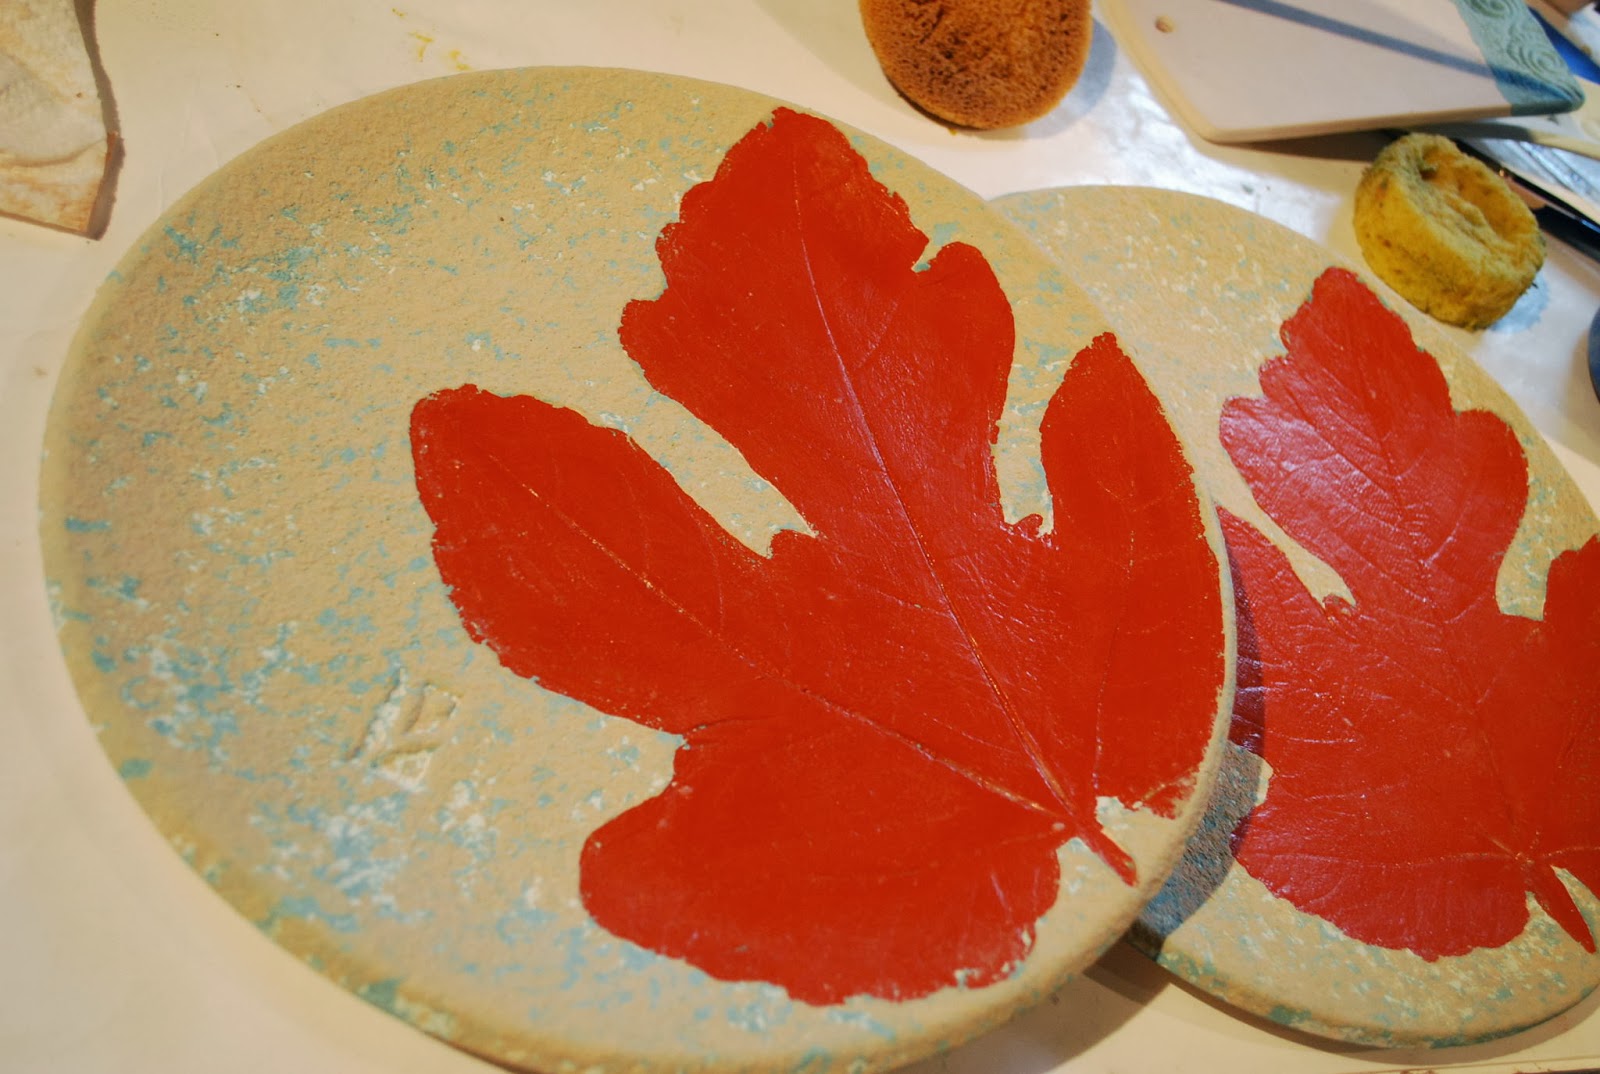
As I write this in mid December, I am coming to the close of my 6th year in the world of custom, personalized pottery.  What I have learned this year can be summed up in the simple thought of "let the customer lead!"  Some of my best pieces have come from ideas that my customers have shared with me.  I keep and open ear and do not fear doing something differently just because it is something that I would not have done.  Some of my most interesting, and successful pieces have come from my collaborations with customers. That said, it is also important for me as an artist to continue to create all those pieces I have floating around in my head.  I find that if I share my studio time with pieces that I have been commissioned to create with those that I "need" to create for my own artistic venting, that I have a good week.  Keeping time set aside, and kiln room set aside for the pieces I want/need to create has been a happy medium for me this year and a lesson learned for sure.

LOOKING AHEAD

Looking ahead to 2014, I just downloaded Pantone's Wedding Colors for Spring 2014. There are a lot of great shades to work with for my custom pieces, as well as for my ready to ship items.  In particular, I will certainly be playing with Pantone's Freesia - a beautiful vibrant yellow; Dazzling Blue - a wonderful full bodied shade or royal blue; Radiant Orchid - a fabulous shade of violet; and Celosia Orange - a terrific, subtle shade of soft peachy/orange.


THINGS TO KEEP IN MIND

Moving forward, one of the things that is beginning to whisper to me from the furthest reaches of my mind, is the notion of preserving my artistic ideas in the pieces I am working so hard to create.  Imitation is certainly the sincerest form of flattery, but within the artistic world it is a big no-no.  While, I have thankfully not been subjected to any other pottery taking my ideas and reusing them, I will be looking into protecting my ideas moving forward for sure.  Being a fairly "type B" person - sort of a more "whatever" type personality.  I have a natural resistance to pursuing such legal protections, but many of my customers, friends, and family are encouraging me to at least look into it.

So, if you have experience or ideas on how I should go about doing this, I would sincerely appreciate your input and experience.  For now, I am focused on responding to my Christmas orders, and finishing my new Studio which should be opening in January 2014. 

It is an exciting time here at Big Dog Pots Pottery, and we are hoping for even more exciting times ahead.

Best wishes to you and yours for a happy, healthy Holiday Season, and a wonderful 2014!

Tuesday, October 1, 2013

A Study in Leaves...

When I first walked into the local pottery studio 7 years ago, I had an idea of what I wanted to create, already in mind.  I have come to learn that sometimes this is a good thing, sometimes it only provides fuel to my frustration.  But on that day, I had a thought and wanted to see if I could make it happen in clay.  I had collected pottery from various artist in North Carolina's Seagrove community for about 25 years.  During my many trips to Seagrove, I was exposed to many different artistic interpretations of leaves.  What I was trying to achieve was something more real, or at least realistic in its finished presentation.
Over the past 7 years, I have developed my own "secret" methods to create pieces that use real leaves, and yet allow for glaze and the pottery firing process to alter their appearance.  Here are the basic steps in my process and some pictures to lead you through how I create them.

First, finding the "right" leaf.  After many attempts, what I have found that works best, for my application are leaves that have deep veins.  These are the types of leaves that will leave the best impression, and allow for the most interesting applications with glaze.  I have used Wild Fern, Sycamore, Fig, Grape, Hosta, Hydrangea, and many others.  For this blog, I will show you a recent piece I created with a Fig leaf.  I saw a Fig tree last year outside of a restaurant we enjoy locally, and I thought, "hmmm, I could grow my own Fig tree and then use those leaves!" And so I did.

Once I find the right size leaf, I look for consistency in appearance.  Not necessarily symmetry, but consistency.  This is a subjective aspect of the creation process, but one I find interesting nonetheless.


With the leaf in hand, I then apply it to the raw clay.  In this instance, I have rolled out a slab of clay to make a circular serving dish.  After cutting out the initial circle for the piece, I transfer the slab of clay to my work table and visualize the finished piece.  Then apply the leaf to the raw clay and use a pony roller to impress it.  I let the leaf set up for a while so that when I go to remove the leaf, the clay underneath has had a chance to dry.
Then the piece is dried, and fired to Cone 06.  Once it is bisqued, it is ready for glazing.  This particular piece is being glazed in various shades of blue.  But first, I need to get the glazing onto the leaf impression.  Using ultra-fine brushes, I carefully apply glaze to the edges of the leaf.   This is the hardest area to work with as glaze has the consistency of thick yogurt, and dries very quickly. Once the outside edges are done, I fill in the remainder of the leaf and then let it dry for a period to allow the glaze the "settle."  Once it has dried completely, I apply wax resist to the leaf area so that when I apply glaze to the remainder of the dish it will not be absorbed by the area where the leaf is located.  I use various wax resist products, and there are any number that you can create from scratch, but I do not use a lot of wax resist in my work, so I just purchase mine commercially.  One thing that I have found quite useful is to set aside specific brushes for just my wax resist work.  I keep these brushes in water that I have added a small about of dish washing liquid to in order to keep the brushes soft and allow for the wax not to build up on them.  The brush container is messy, but it does the trick and keeps all of my wax brushes in one place.


 Once the wax resist is on the leaf, I can then apply glaze to the remainder of the piece.  The wax resist will leave a glossy appearance on the glaze once it has dried.  For this particular piece I have layered 3 different types and colors of glaze.  The end result is a speckled appearance which I think adds some depth to the piece.  I was pleased with how these turned out, and have created additional layered glaze combinations the latest of which is in shades of green.  But I think that will be saved for another blog post :).